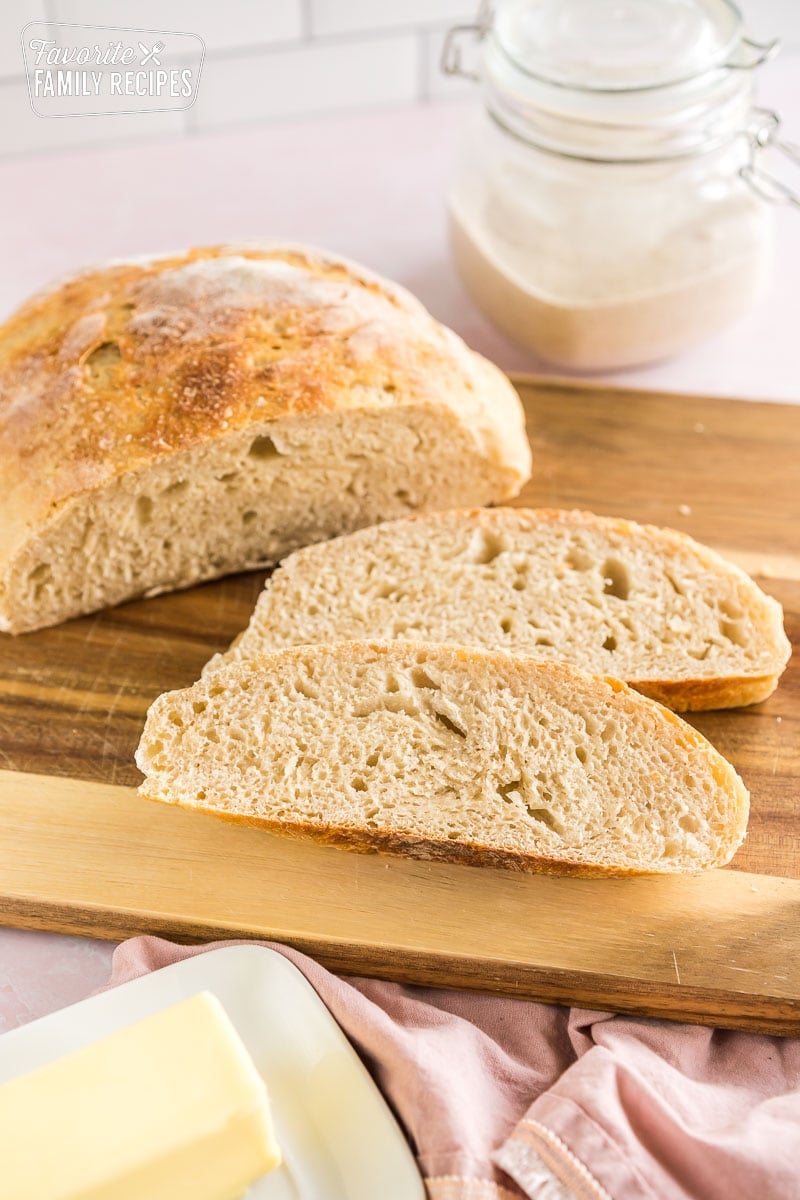
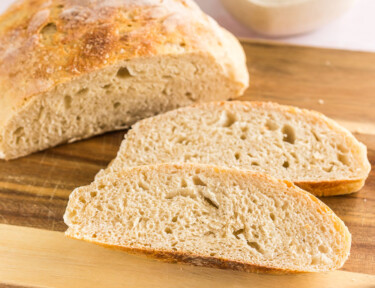
Sourdough bread can be very intimidating if you’re not a professional baker. I avoided learning how to make it for years because it just seemed too hard! However, I am so glad I finally learned. Sourdough bread is so delicious and once you have your method down it is really simple to make. It takes more time, but a lot of that time is resting and rising, so you aren’t working on it the whole time. This post will guide you through the process of sourdough and before you know it you’ll be making your own delicious loaves! The recipe at the bottom of this post is one of my favorite easy sourdough bread recipes. The majority of the rising happens overnight, so you can wake up and get your bread baking.
Ingredients in Sourdough Bread
Sourdough Starter – See instructions below for how to start and maintain a sourdough starter. Sourdough starter is the rising agent in sourdough bread. It also adds a ton of flavor. Water – Use filtered water for the best taste. Flour – Sourdough can be made with other wheat flours like whole wheat flour or bread flour, but I use white all-purpose flour for this recipe. Salt – Fine grain salt is best for this recipe.
Tools for Making Sourdough
Using the right tools makes the baking process so much easier! Below is a complete list of tools I use when baking sourdough bread. Some are must-haves and some are nice-to-haves.
Must Haves
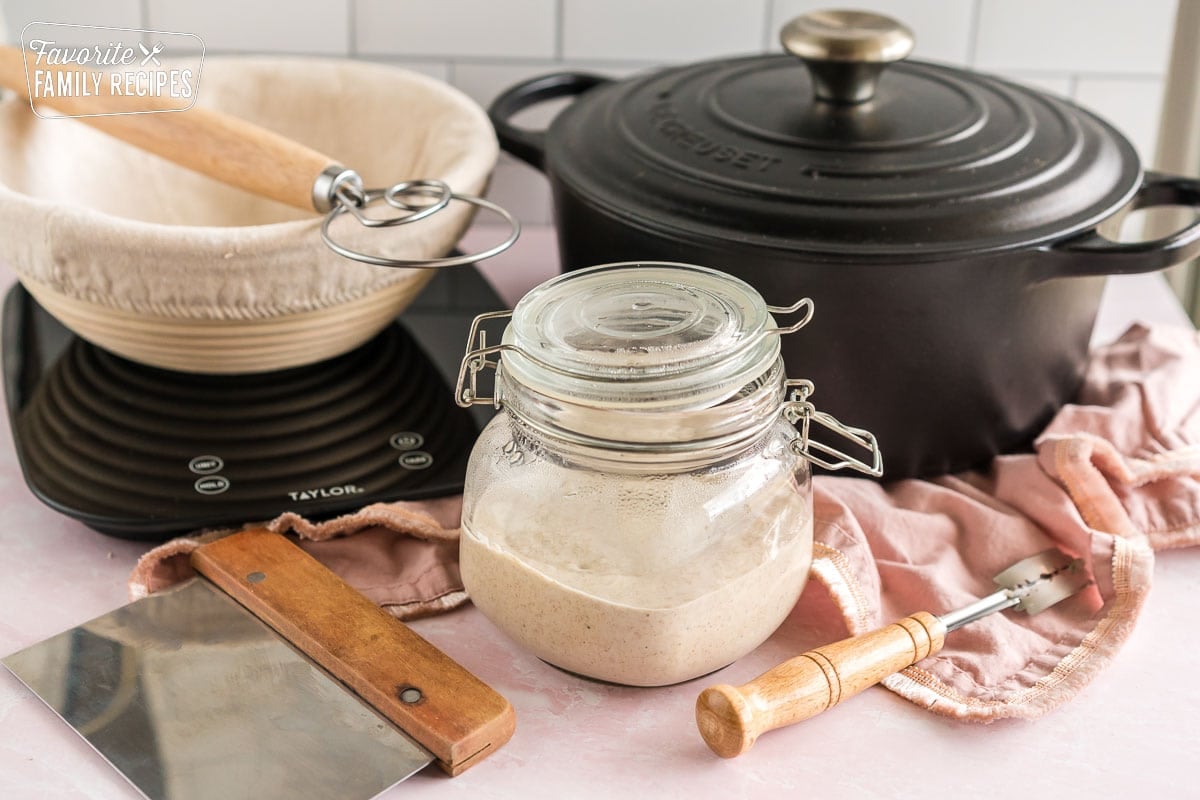
Jar for sourdough starter – A glass jar with a lid is the best jar for a sourdough starter. The bacteria from the starter can eat at other jar materials over time. Large Mixing bowl Kitchen towel Food scale – Precision is key when measuring sourdough ingredients. The ingredients in most sourdough recipes are listed in grams and milliliters, so you will want to pick up a food scale to get exact measurements. Dutch oven or casserole dish – You will need a dutch oven or other deep casserole dish with a lid to bake this bread. Parchment Paper
Nice To Haves
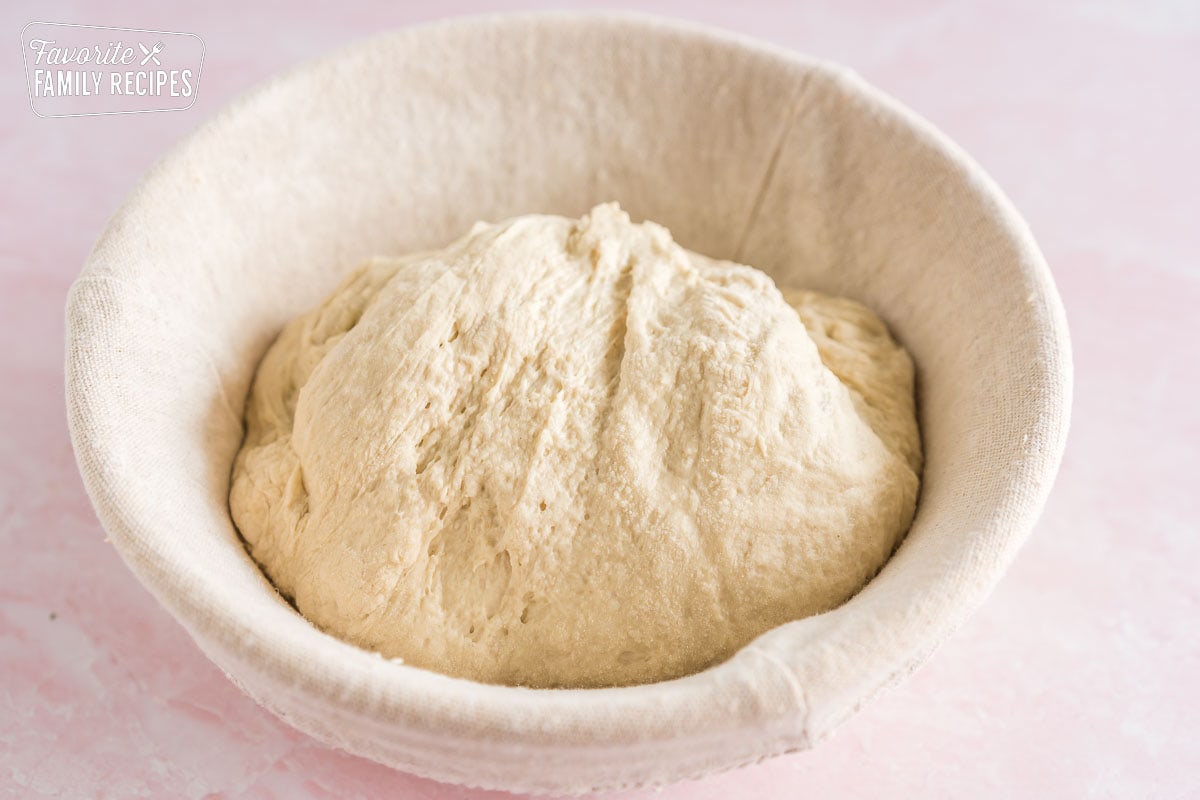
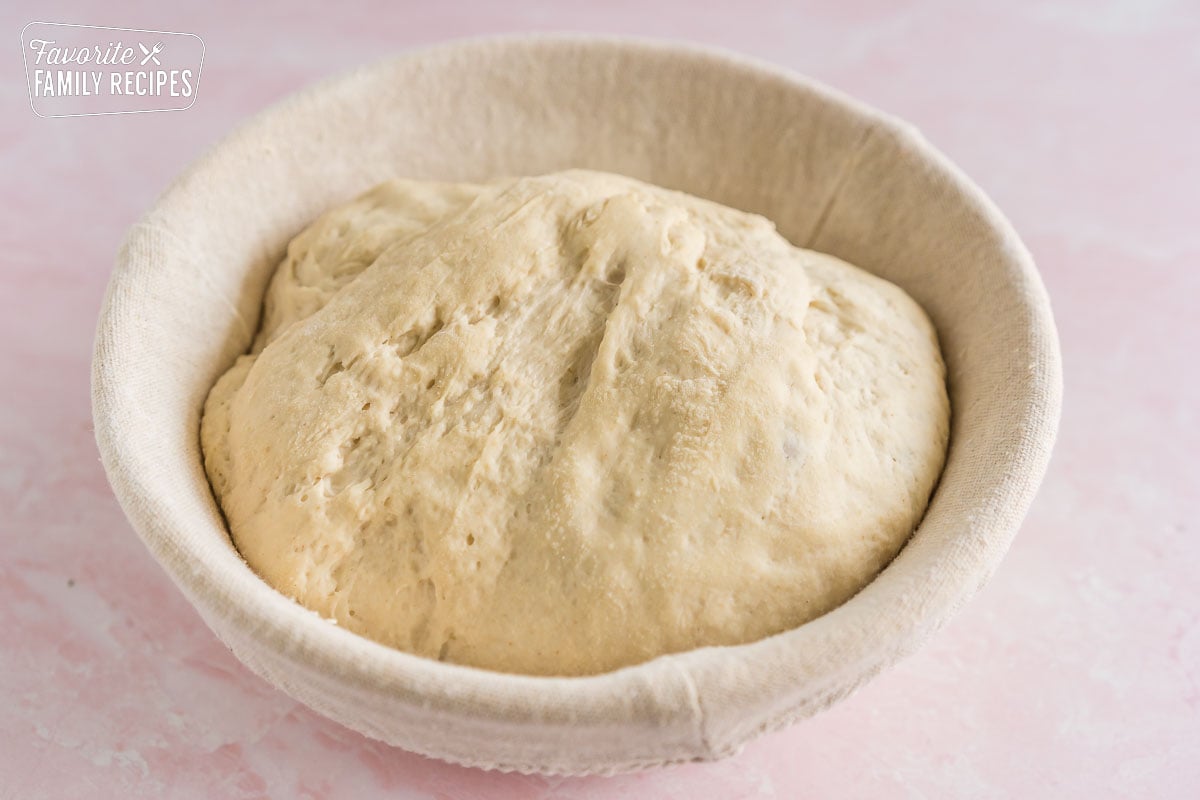
Dough Whisk – A dough whisk is not necessary, but I find that it mixes the initial dough together the best! A wooden spoon is my second choice if I don’t have a dough whisk. Bench Scraper – A bench scraper will make it easy to scoop the dough from the counter into the proofing basket. Proofing Basket – Proofing baskets help the rising loaf to form into the right shape. Lame – A lame or some razor blades are the best tools for scoring the top of the loaf. You can also use a very sharp knife.
How to Obtain and Maintain a Sourdough Starter
Obtaining a Sourdough Starter
Obtaining a sourdough starter is the first and most important step of any sourdough journey. The starter is the rising agent and the flavor agent of sourdough bread. There are a few different ways to get your hands on a sourdough starter.
The easiest way is to ask around your friends and neighbors to see if anyone has a starter they can share. A healthy, active starter is easy to share and easy to maintain. Buy a dehydrated starter. You can buy packets of dehydrated starter in some stores or online. I got my most recent sourdough starter from The Food Nanny. The Food Nanny sells her starter, called Etta, in her store and online. It has enough starter to start 3 starters, so make some and share some with friends or family. Your starter should come with instructions for rehydrating and maintaining. Make your own starter. You can actually make your own sourdough starter. I do not recommend this route for beginners. It is a more involved process and it takes a while to introduce all the bacteria needed and get it active. If you are wanting to try this method, there are many resources online that detail how to make your own starter.
Maintaining a Sourdough Starter
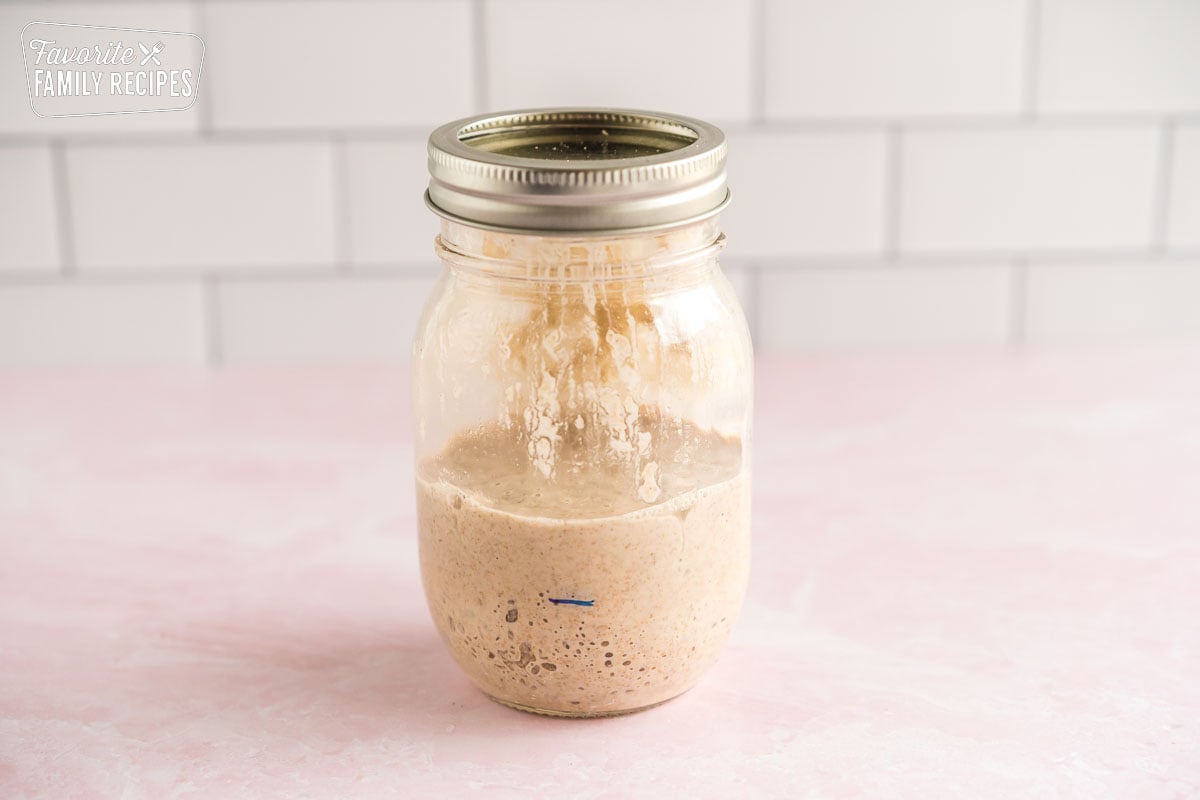
Once you have your hands on a sourdough starter, you will need to feed it to keep it alive. Think of it as your new little pet. To feed your sourdough starter, first discard all but about 2 tablespoons of the starter. You can keep the discard to make sourdough discard recipes, or just toss it. Then add 50 grams of flour and 50 grams of water. Stir together until combined. It should look and feel like a thick pancake batter.
How Often Should I Feed My Starter?
How often you feed your starter depends on how often you want to bake bread. I like to bake bread once a week, so I feed my starter once a week. When I am not feeding it or using it, I keep it in the fridge. Starter can be kept in the refrigerator for up to two weeks without feeding. Even if you are not baking bread, you need to feed your starter at least once every two weeks to keep it active.
When is my starter ready to bake with?
Sourdough Starter Troubleshooting
If you are having trouble with your starter, there are a few main culprits. First is temperature. Sourdough starter becomes active at “room temperature”, but not all room temperatures are created equal. “Room temperature” for good sourdough is 70 to 80 degrees. If your kitchen is cooler than that, then you can place the starter in the oven with the oven light turned on. Just don’t accidentally turn the oven on while the start is in there! Too much heat can kill the yeast. If your starter still isn’t bubbling up, try replacing half the flour with rye flour next time you feed it. Rye flour helps convert the sugar quicker and more efficiently. Eventually, your starter will be strong enough to go back to all white flour.
Important Note
Now that you know all the ingredients and tools you need to make sourdough bread, you are almost ready to get started! But first, remember that sourdough is a process. Every starter and loaf is a little different. Where you live, how warm or cold you keep your house, and time of year can all be a factor in the rising times of your starter and your loaves. The times listed in this sourdough bread recipe are approximate and based on my kitchen climate. Pay more attention to the description of how the starter and dough should look and feel. Accept that your first few loaves might be duds! It is okay! Try to enjoy the process of learning a new skill. Read Next: 35+ Easy Lunch Ideas
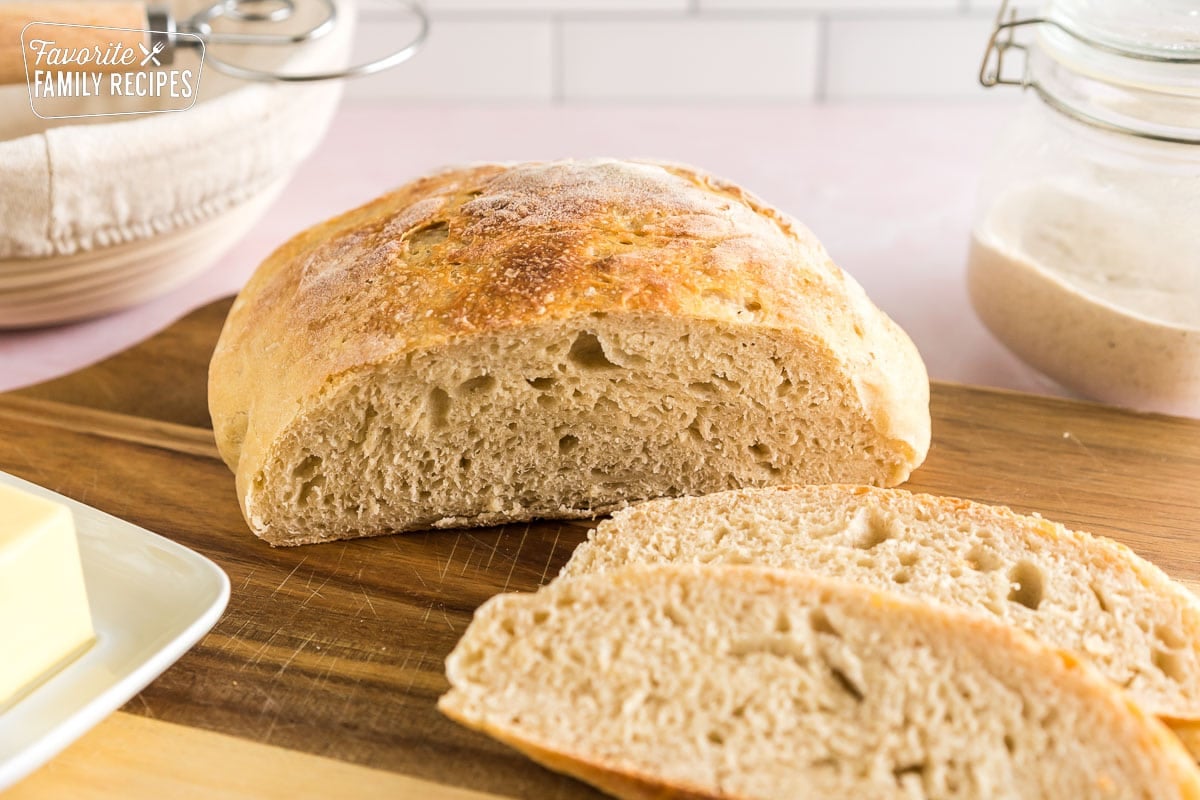
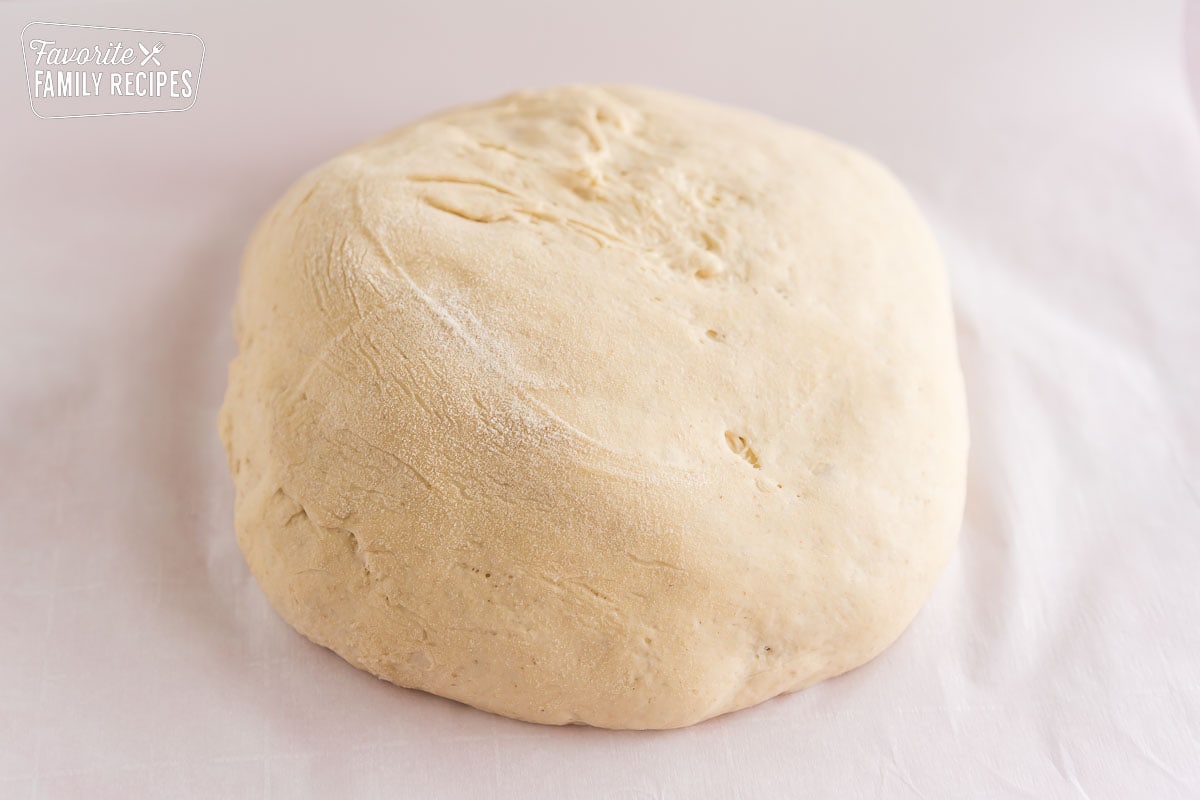
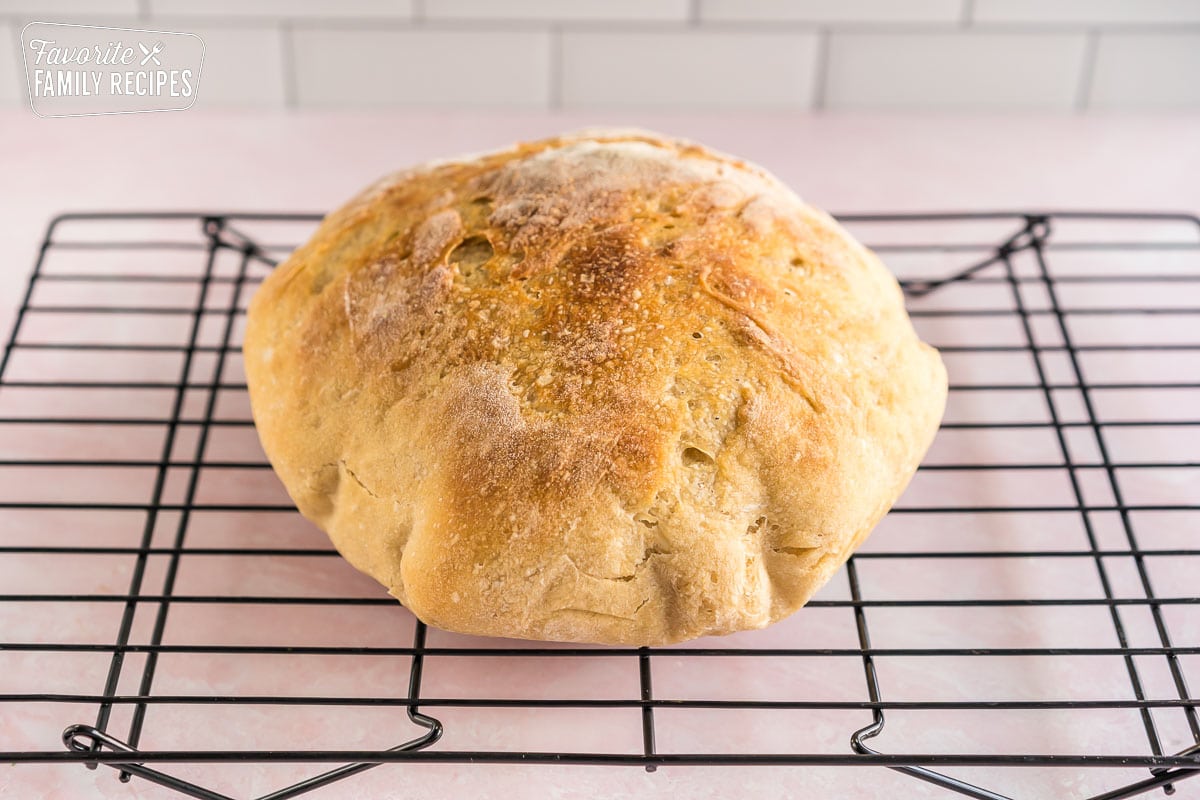
How to Make Sourdough Bread
We want to hear from you! Please leave a review. Rate and Review