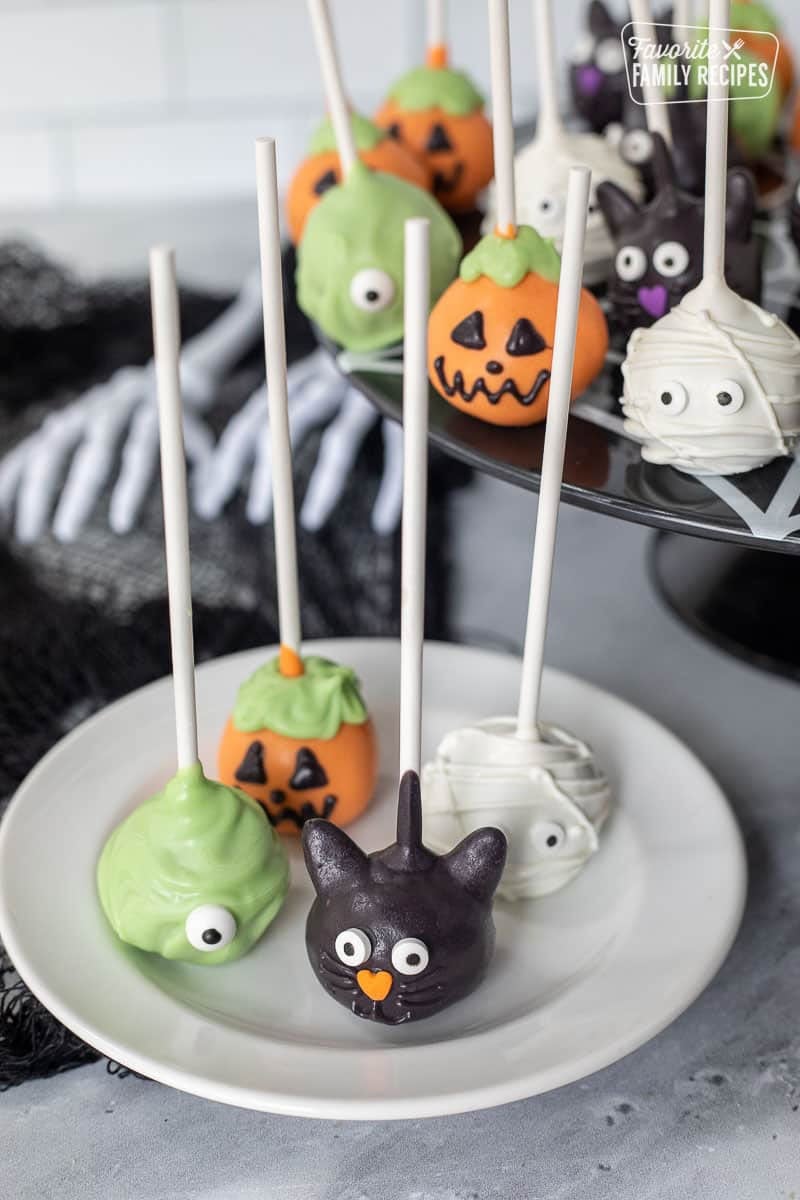
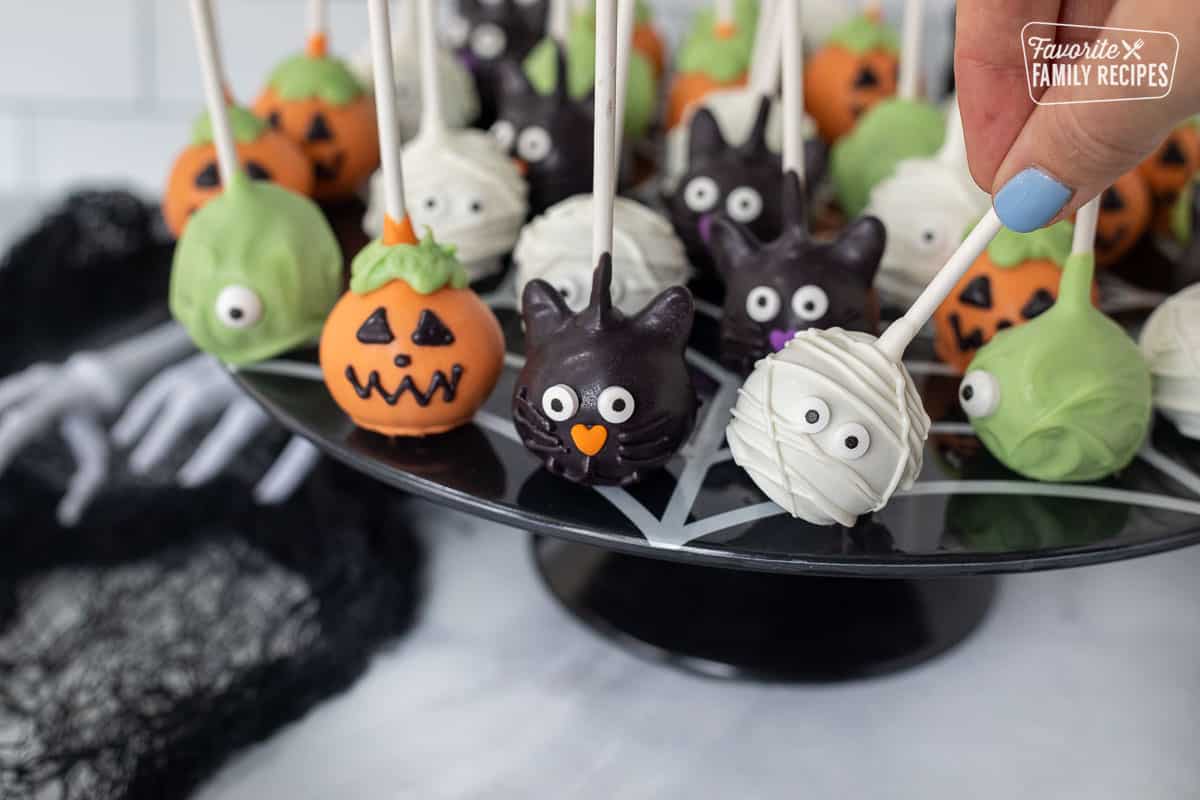
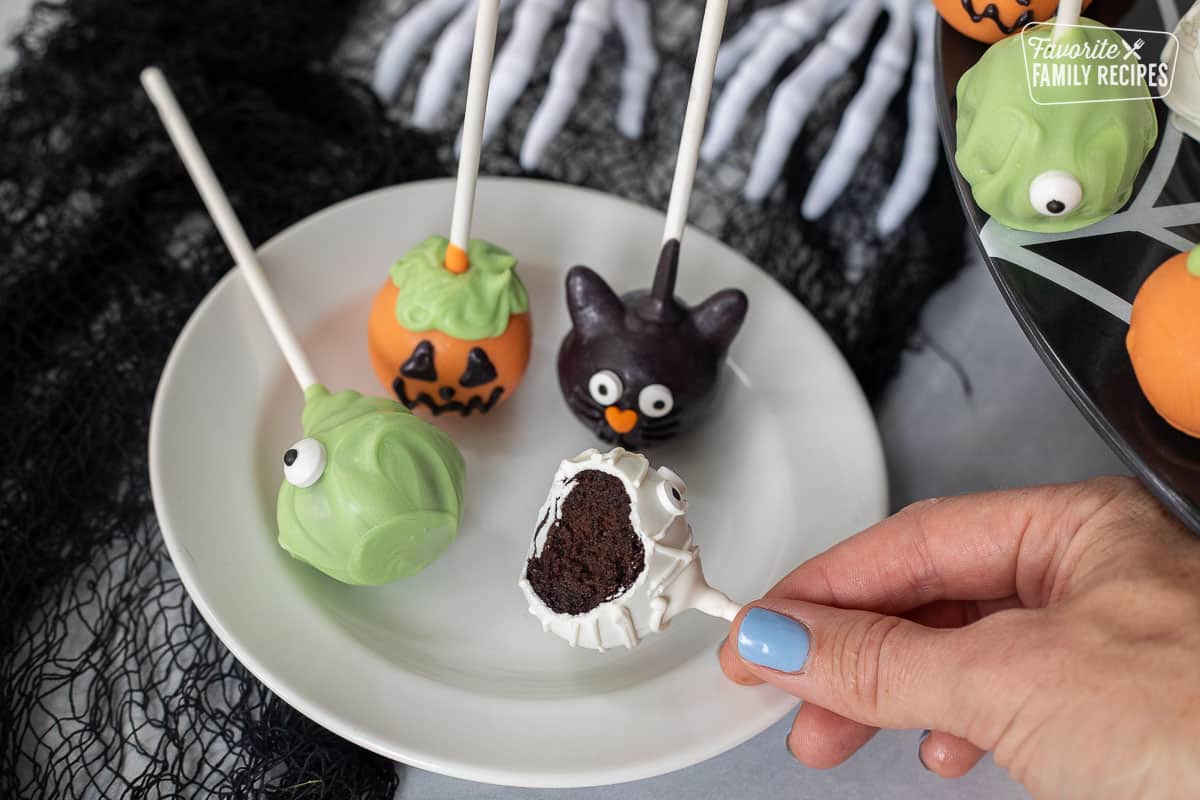
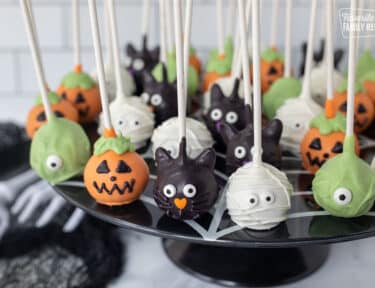
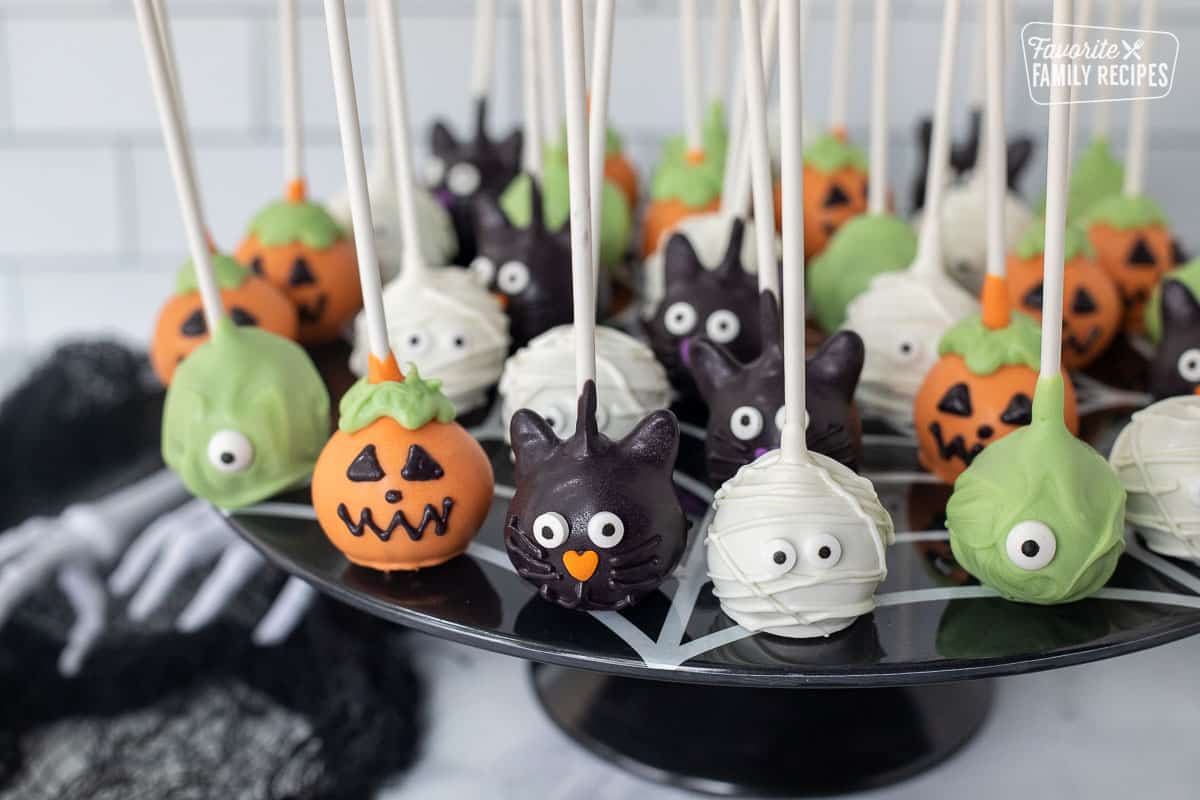
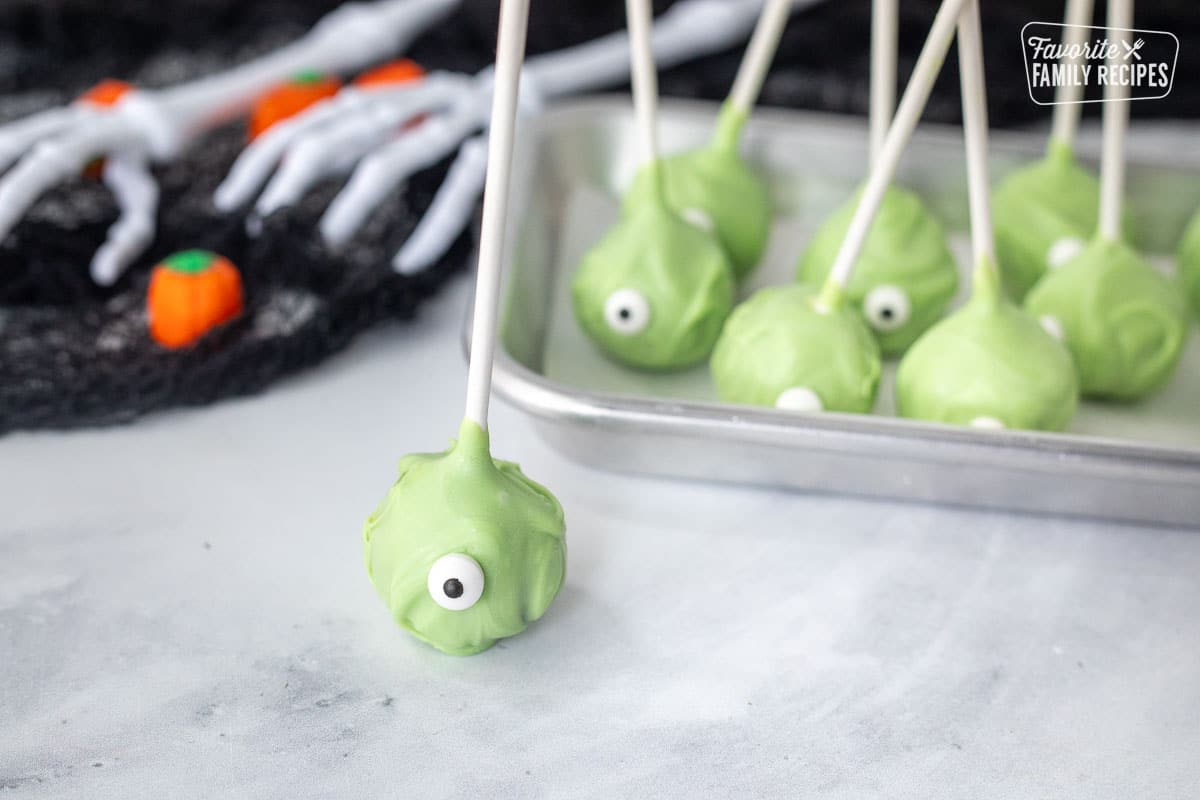
These Halloween Cake Pops are a cute and tasty dessert, and a fun way to celebrate the Halloween season. The inside is a gooey, fudgy cake and frosting mixture, rolled into balls and dipped in colorful chocolate melts make for creative and tasty treats. Once you have a few tips on making cake pops, they can be decorated all sorts of ways, from mummies, to goblins, to sweet little pumpkins. Perfect for Halloween parties or as class gifts.
Ingredients in Halloween Cake Pops
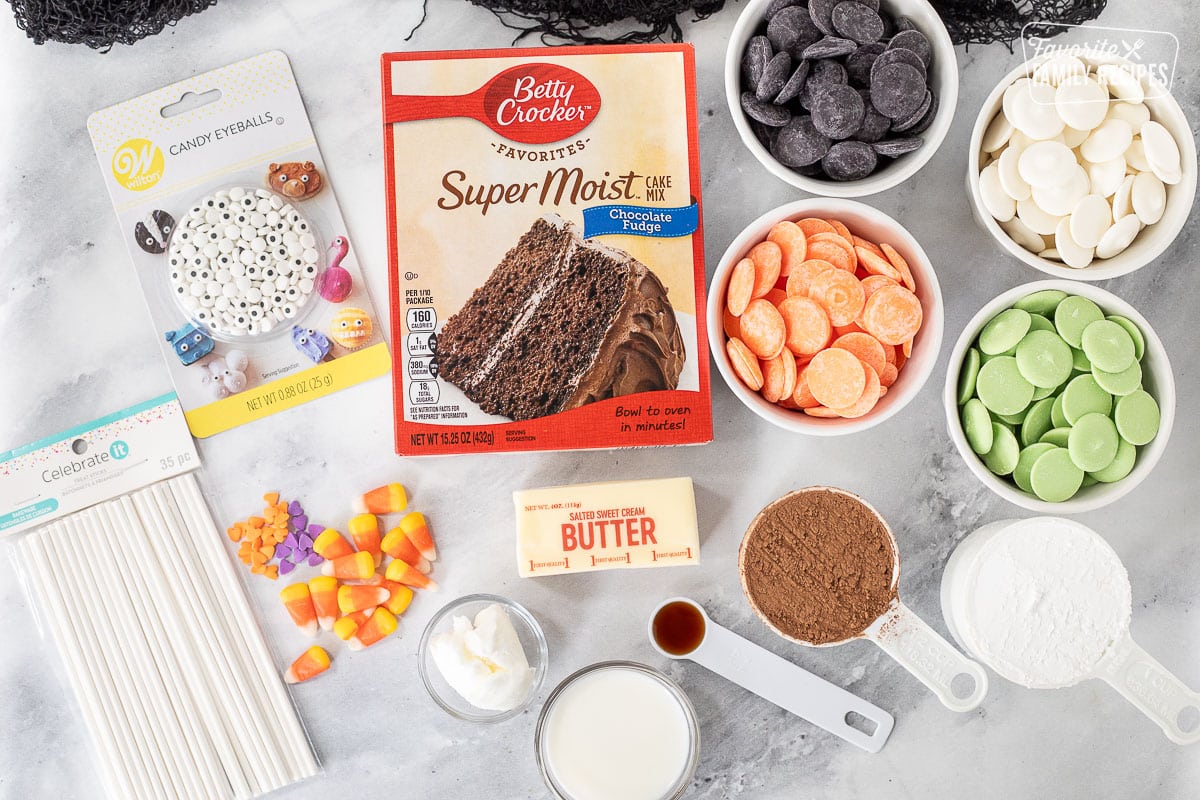
You can take a lot of help from the grocery store to make these delicious and easy cake pops. They’re really easy to put together and fun to decorate. Here’s what you need:
Use Homemade or Canned Frosting
This cake pop recipe calls for homemade chocolate frosting. It’s fast, super easy to make, and is just the right amount of frosting to mix in with the cake. However, you can substitute with any chocolate store bought frosting you like. Do not use the entire tub though. Adding too much frosting can make them too greasy and not using enough won’t hold the cake pops together.
Want to Make Vanilla Instead of Chocolate?
Switch up the flavors as much as you like. All you need to do is use a prepared white cake or vanilla cake instead of chocolate cake. For the frosting, replace ½ cup cocoa powder with ½ cup powdered sugar, giving you one and a half cups of powdered sugar total. The rest of the ingredients stay the same to make this a delicious vanilla frosting.
Mixing Cake Crumbs with Frosting
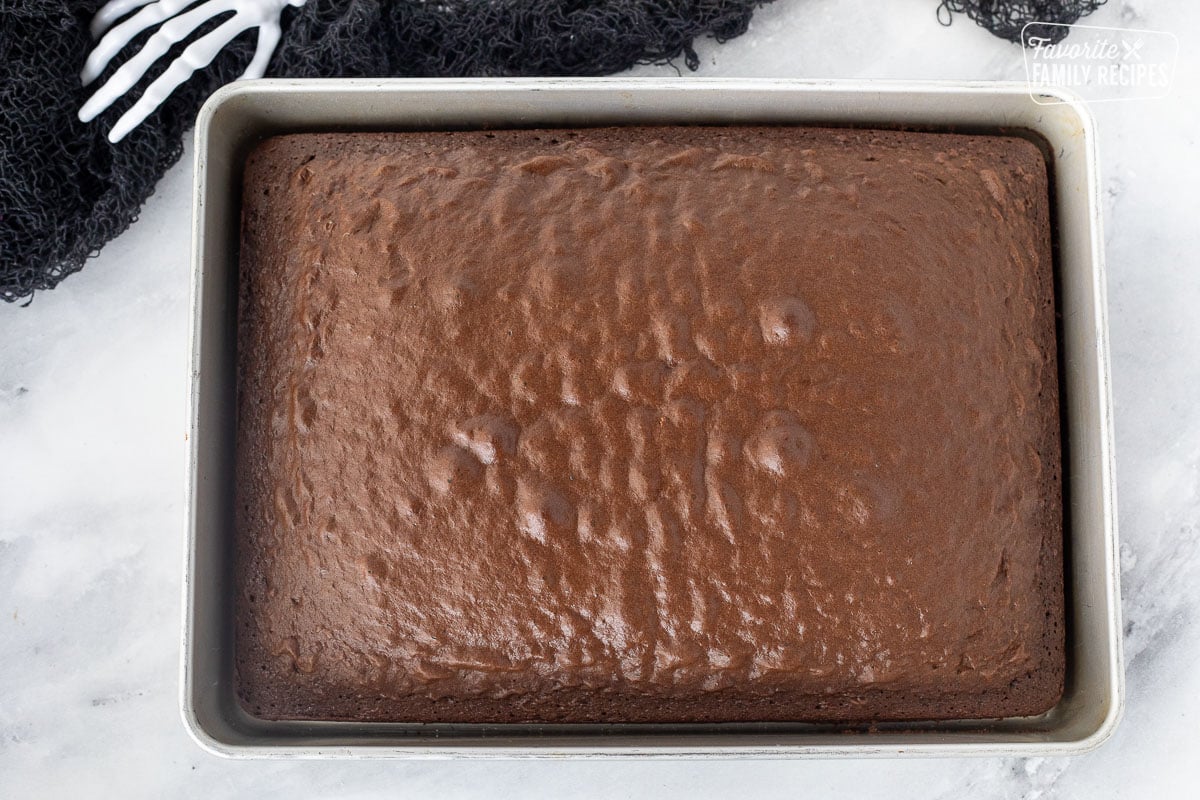
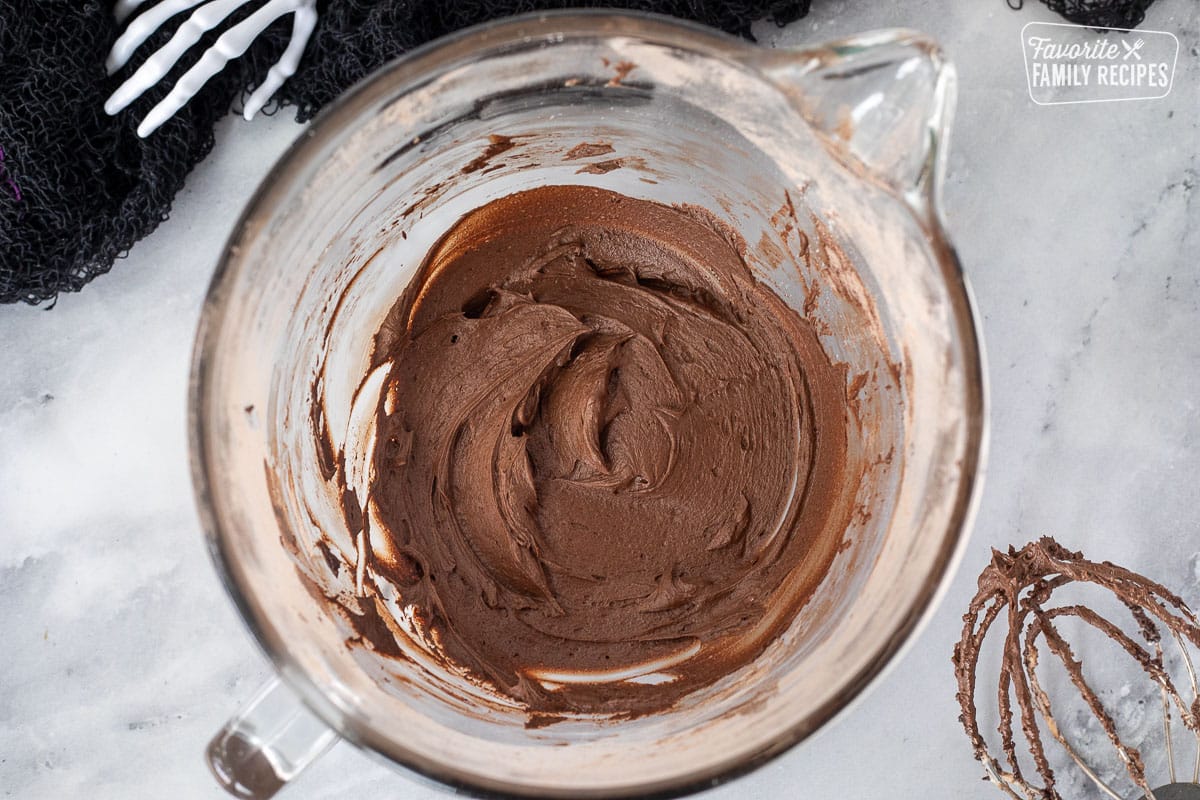
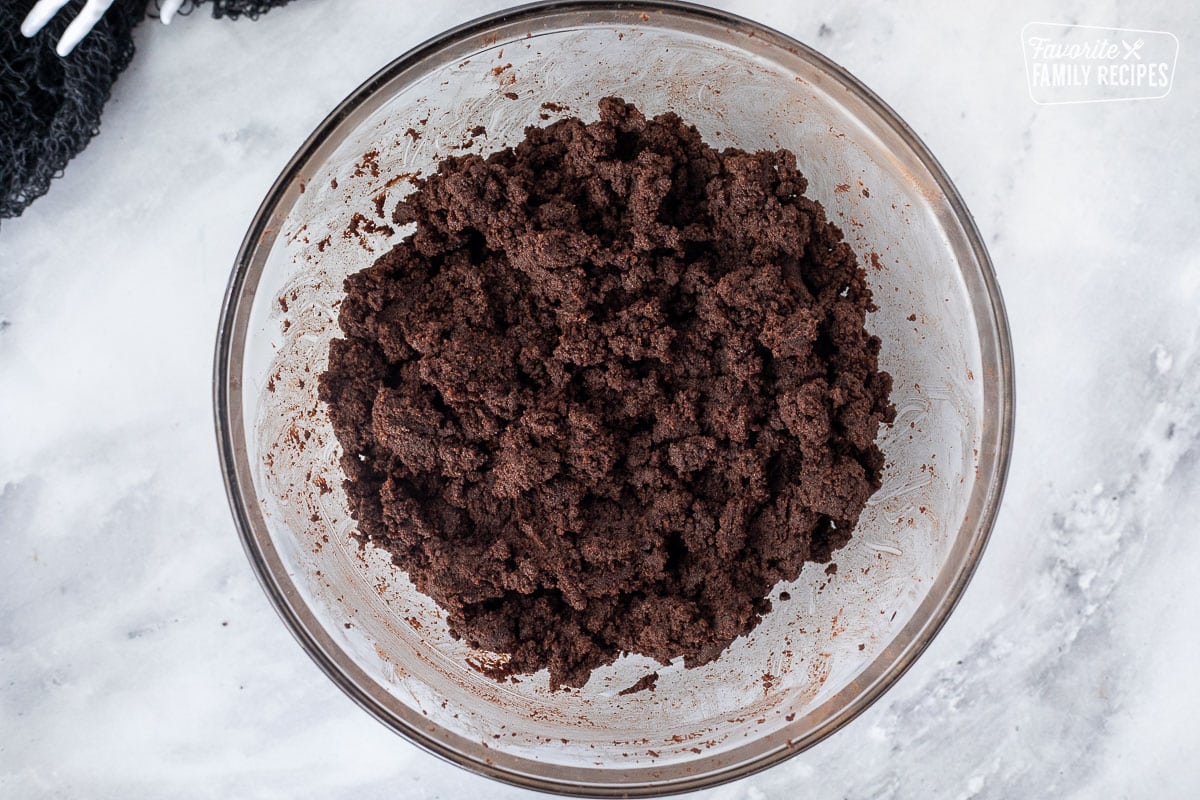
Combining cake crumbs and frosting is an important part of getting perfectly assembled cake pops.
Once your cake is cooled completely, use a fork or your hands to break the cake into fine crumbs, that are the same size and texture. Mix the frosting in slowly. In a large mixing bowl, start by adding a little frosting to the cake crumbs. Add more at a time until the cake mixture is gooey but not too soft and you can easily form a ball shape. A good rule of thumb is use half a cup of frosting to every four cups of cake crumbs. When crumbling the cake, don’t use the harder edges of the cake baking in the pan. They won’t crumble as well and there’s less moisture in those parts, making it harder to form fudgy balls with the frosting. Set the harder edges aside for a little snack while you’re working.
Forming the Cake Pop Balls
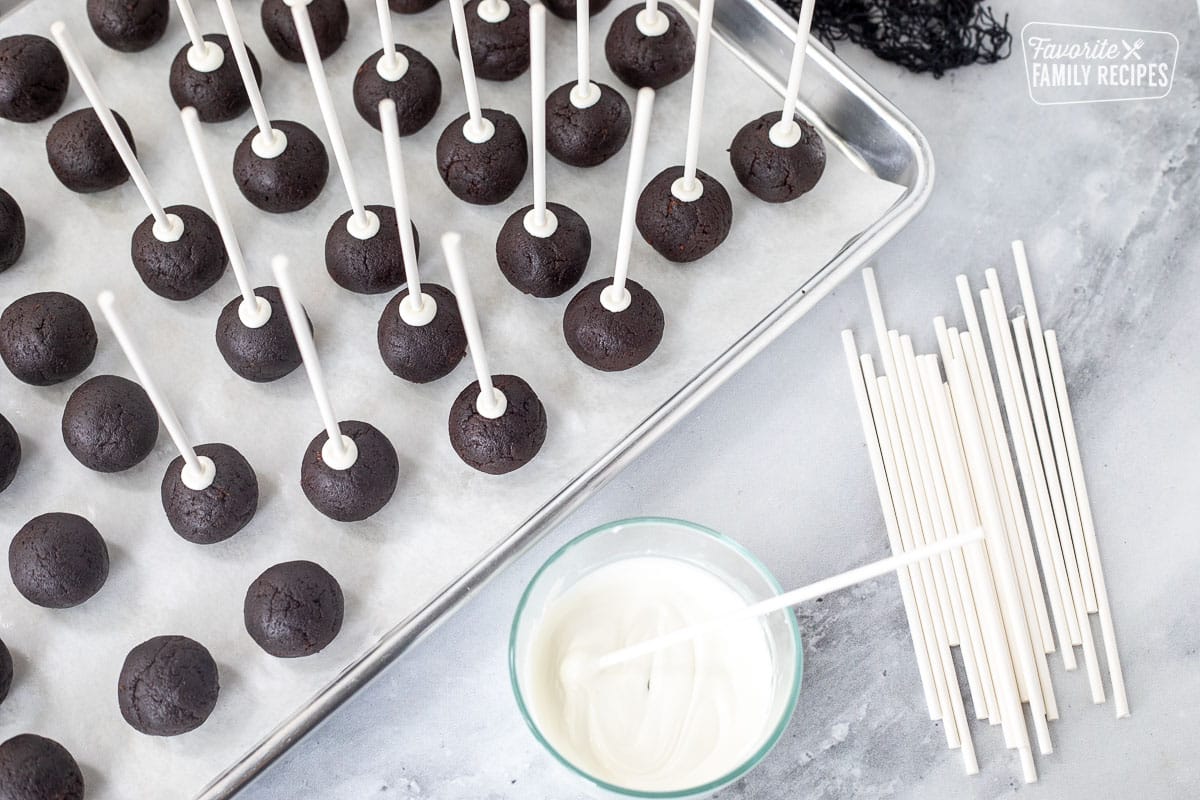
When your cake pop mixture is ready, it’s time to shape them into small, round cake balls. Use a cookie scoop to get the right portion, then roll with your hands to shape the cake balls so they’re close to the same size.
For 65 small cake balls: use a one tablespoon cookie scoop. This could be a great size if you need a lot and you’re making them for a big party or class treat. For 40 cake pops: use a standard cookie scoop that is a little less than two tablespoons. Any larger and the cake pops become too heavy to stay on their lollipop sticks.
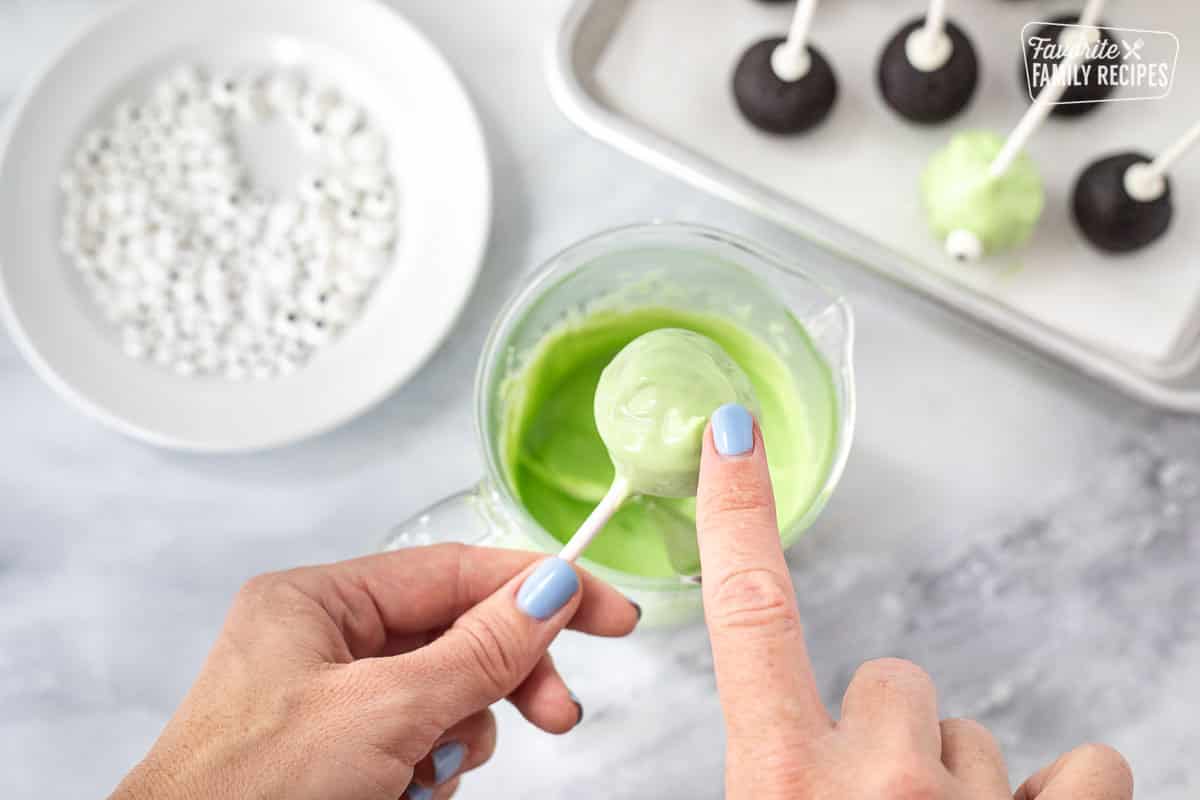
Creating Cake Pops
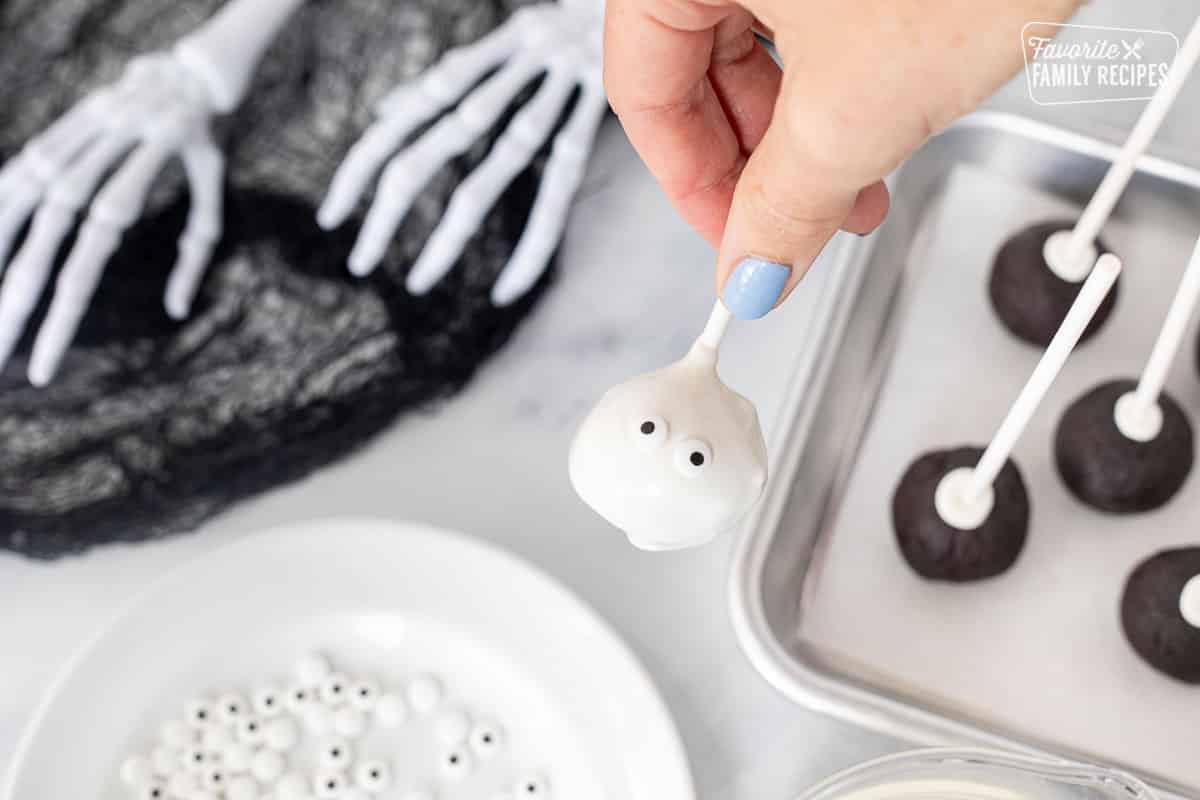
Now it’s time to turn these cake balls into lollipops!
Methods to Dry Cake Pops
You can make sure your dipped cake pops dry off a few different ways, each giving you beautiful results. It’s just up to you:
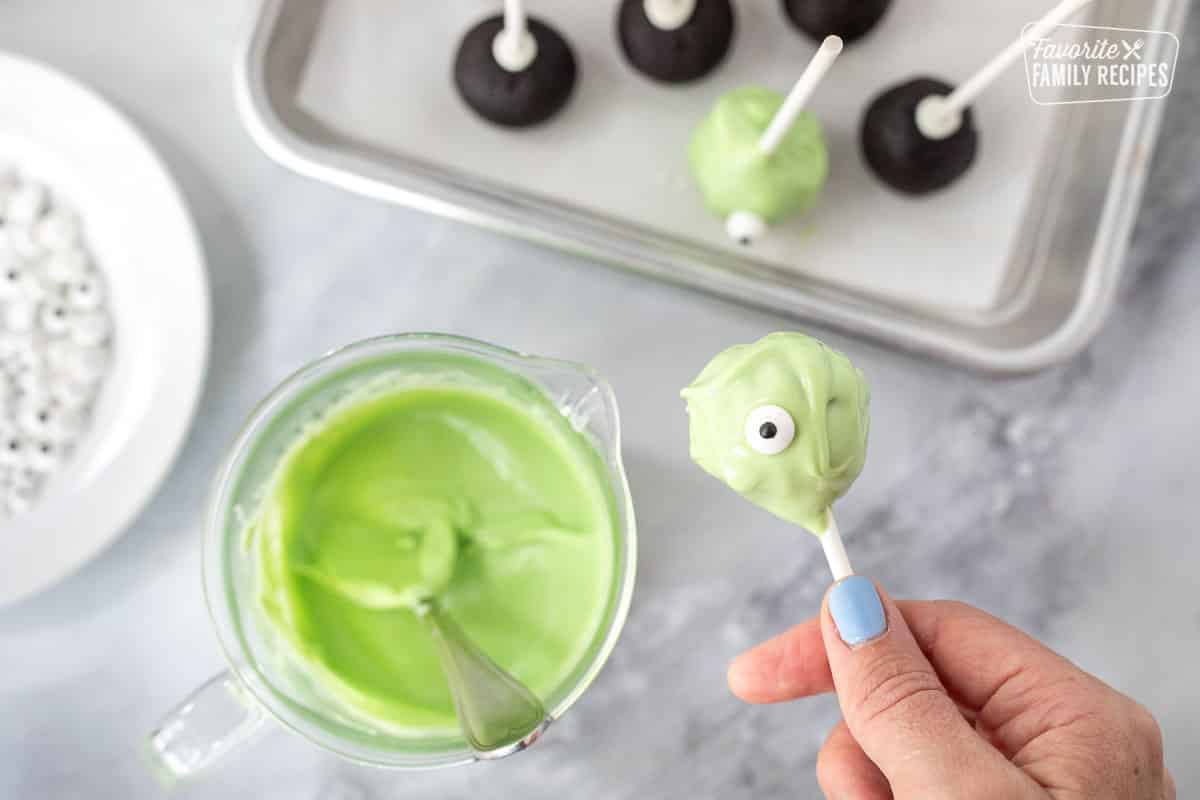
Decorating Tips
These darling cake pops are easy to decorate and fun to have your kids help out in the kitchen. See the photos in the recipe card below for step by step instructions, and follow these simple tips for perfectly decorated pops:
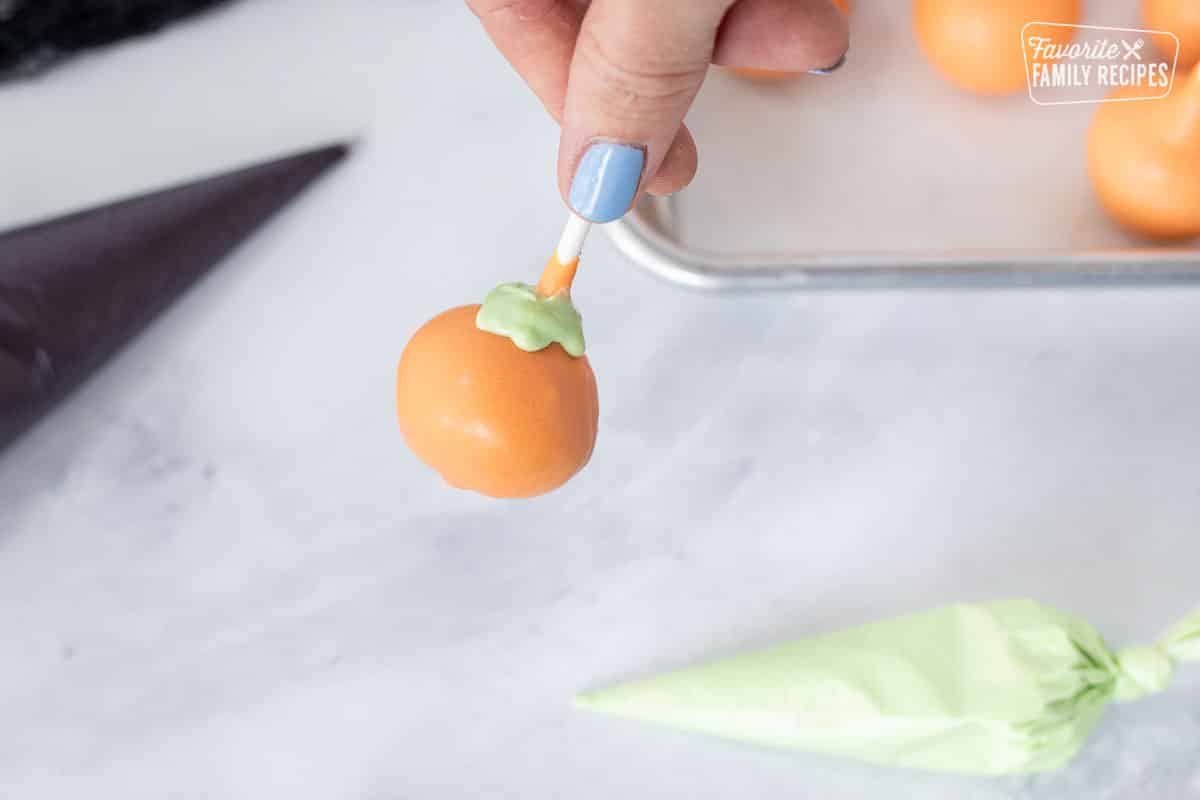
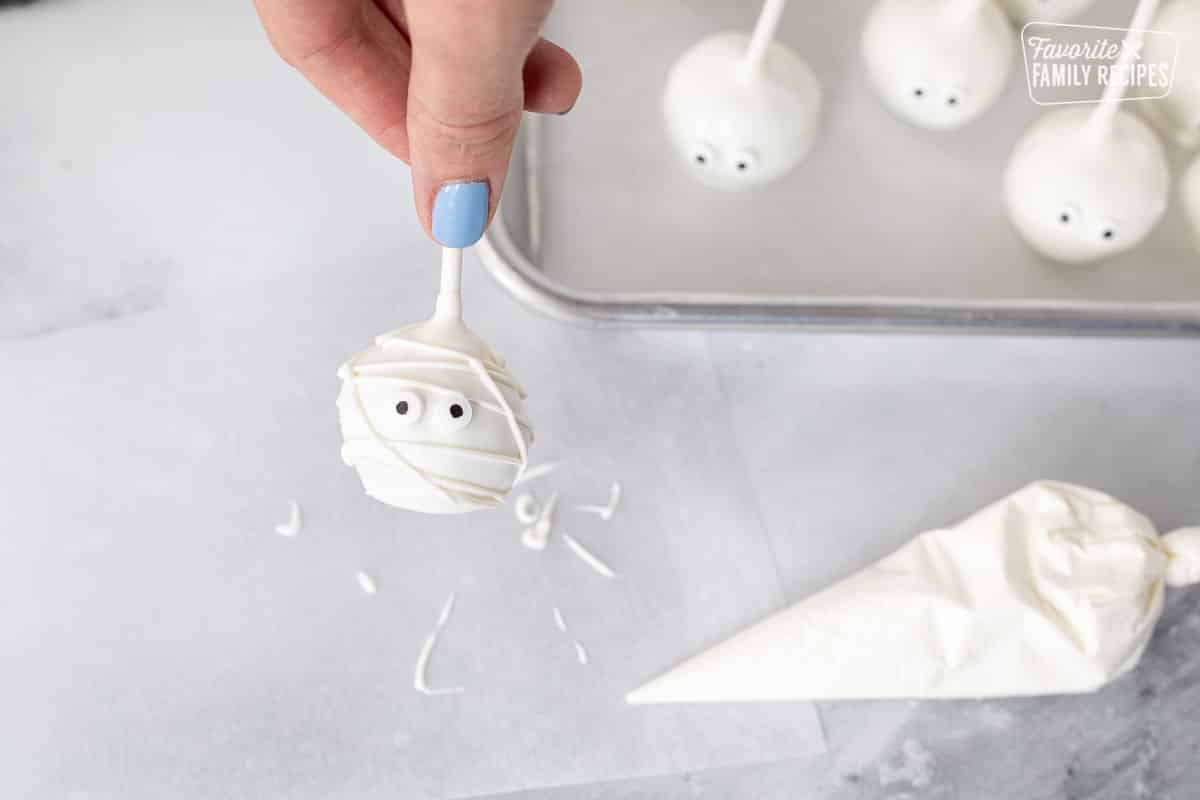
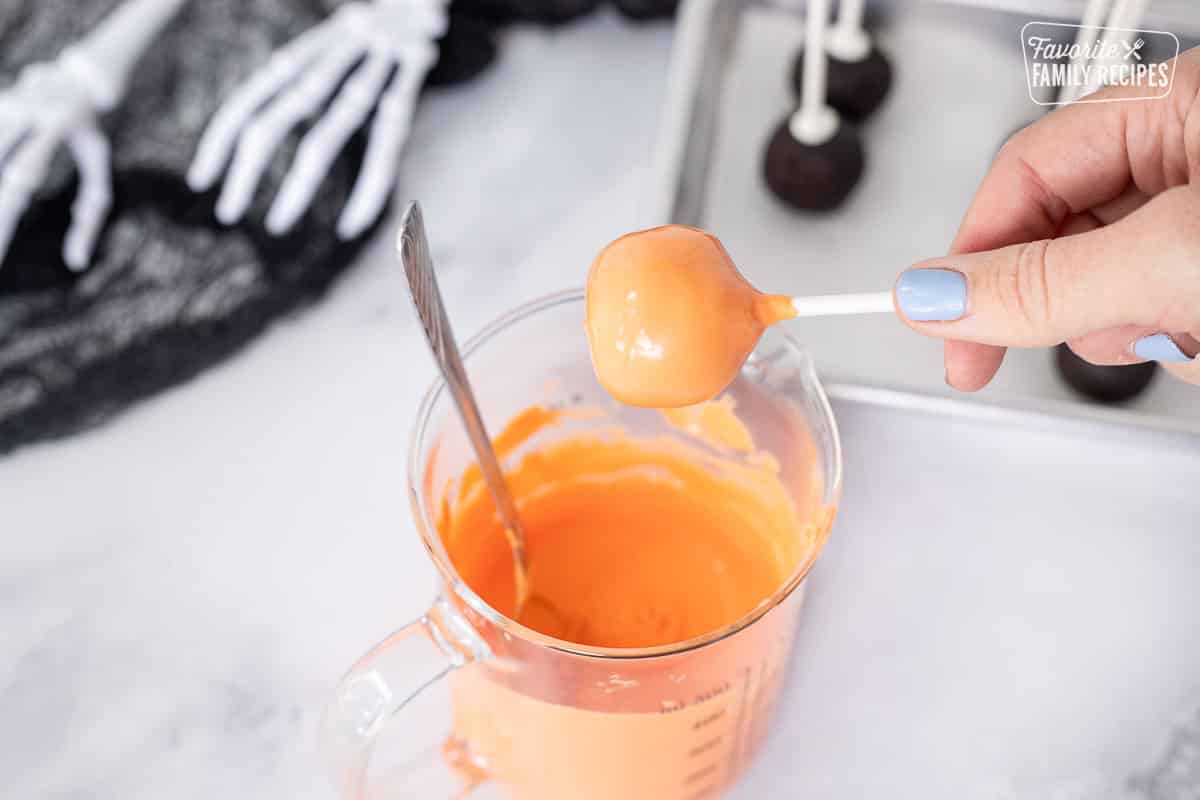
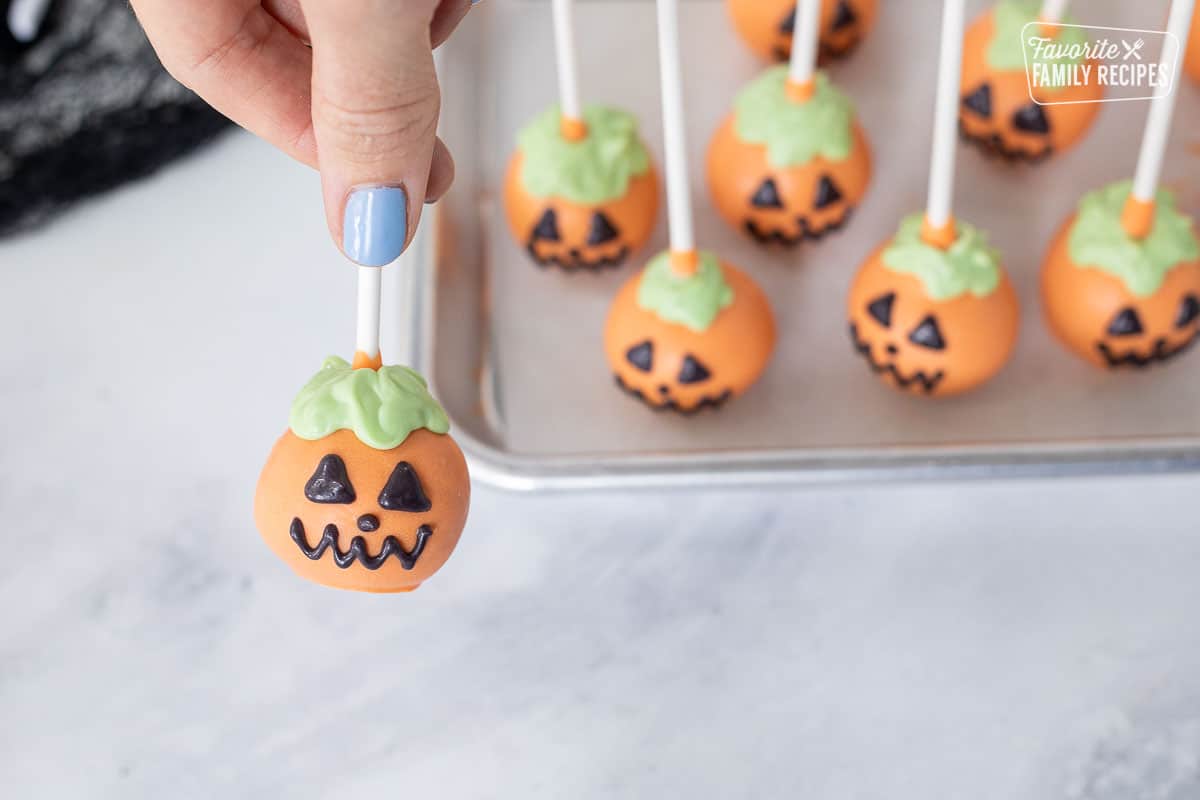
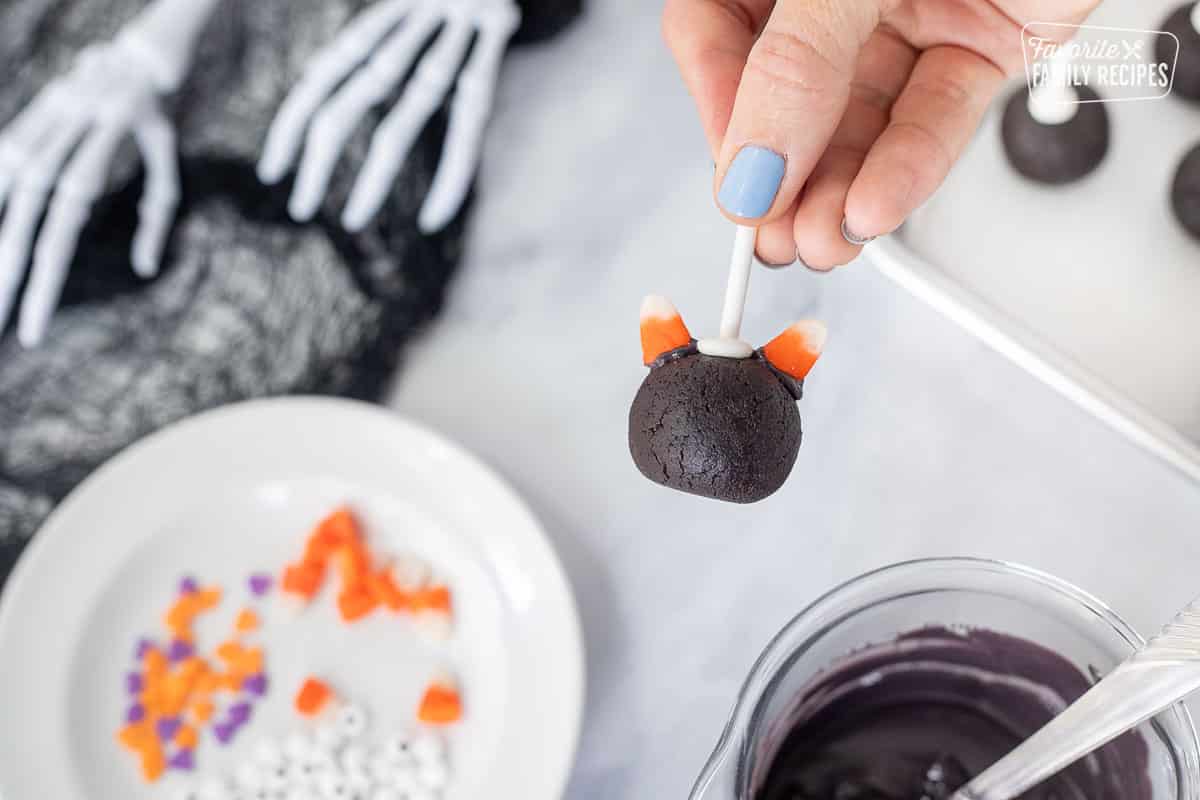
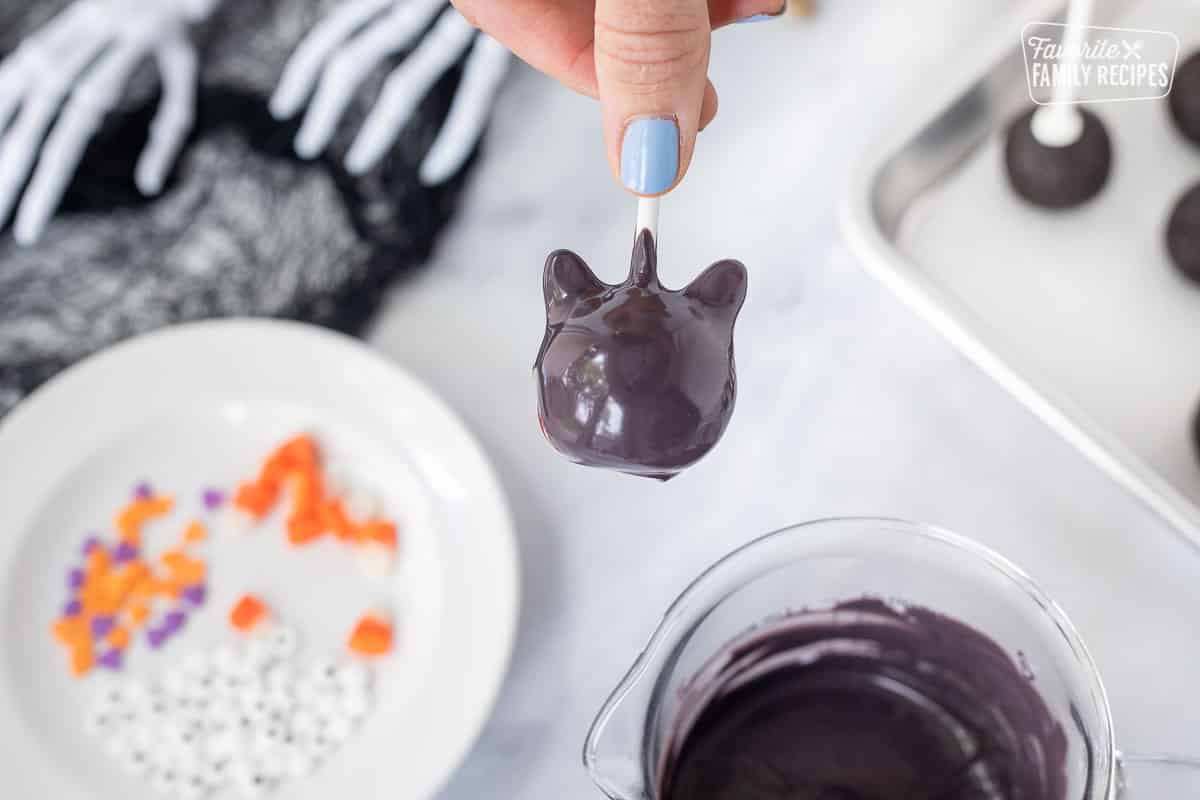
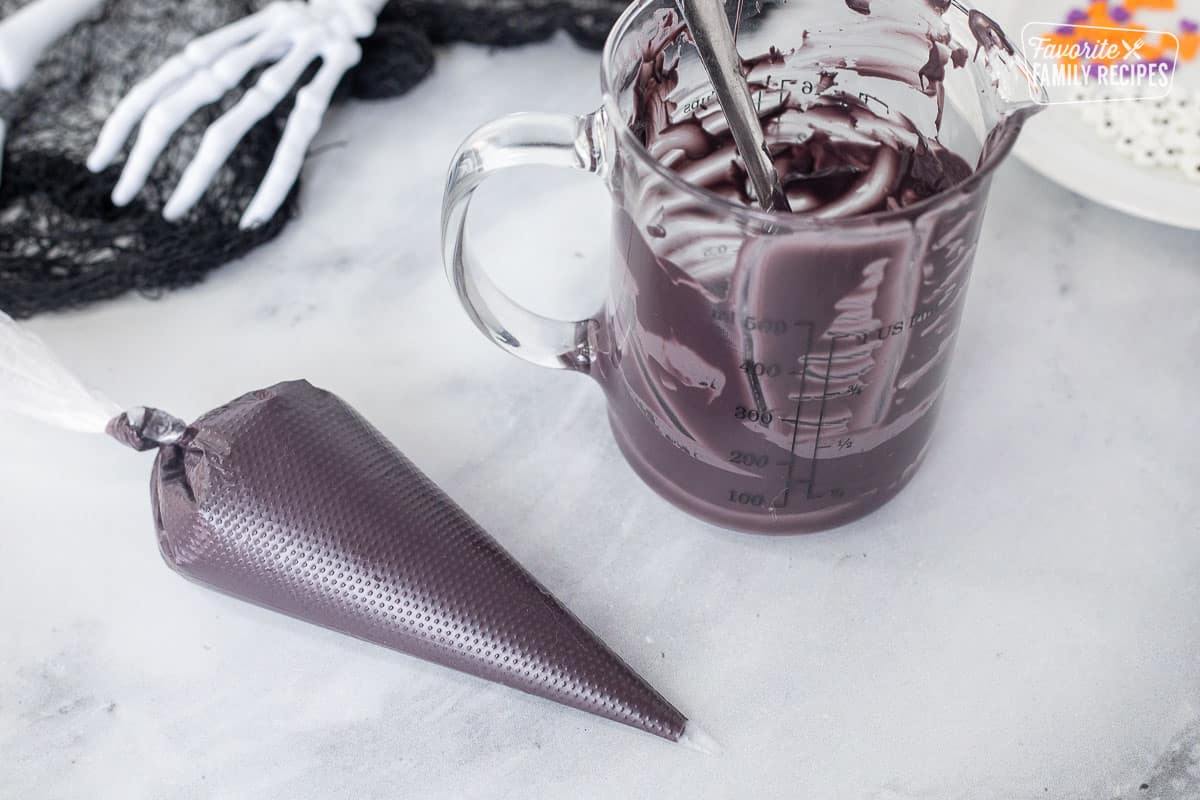
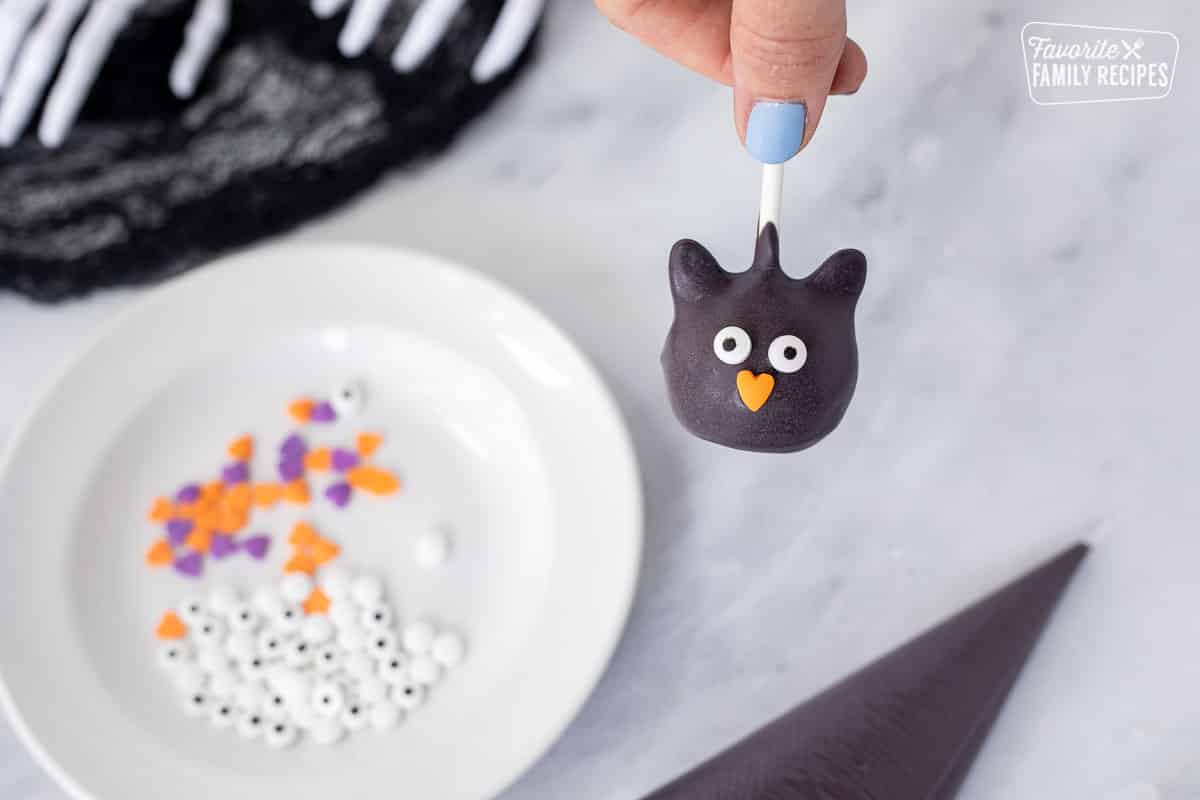
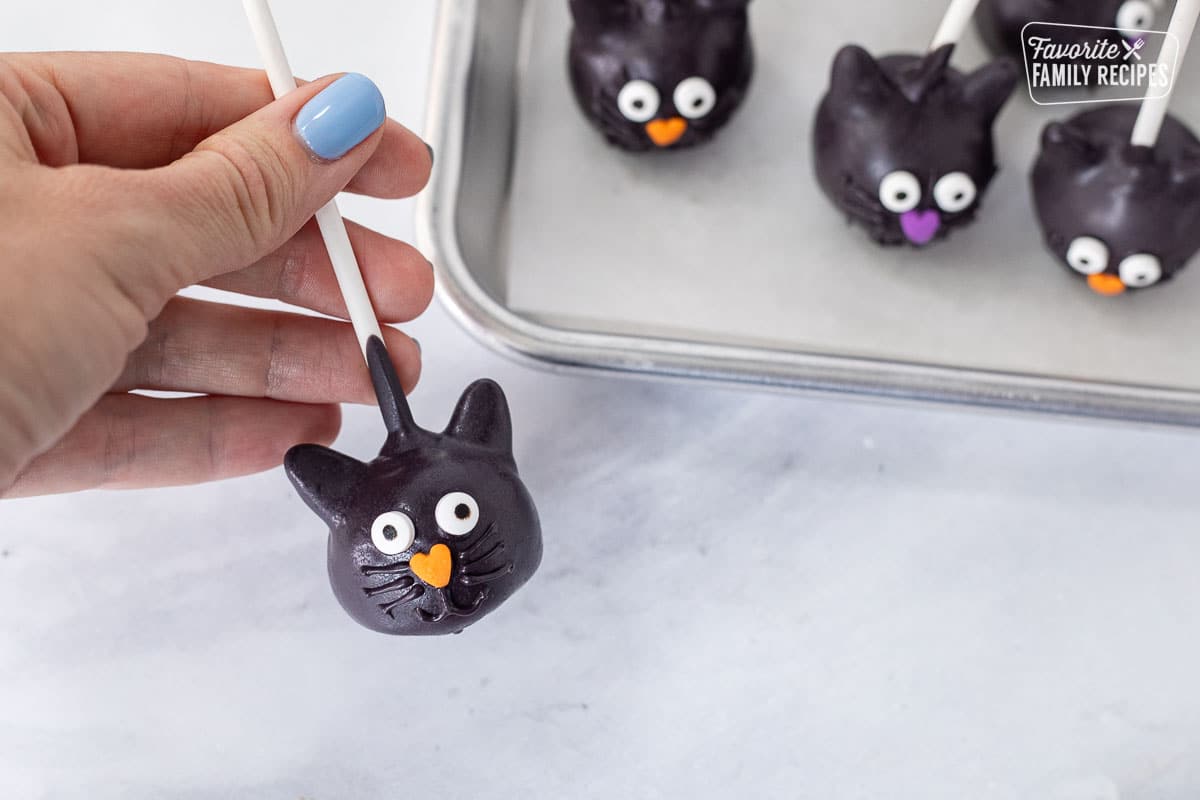
When decorating the black cats, cut candy corn in half with a sharp knife. Attach them by dipping just the part that will stick to the cake pop in candy melting wafers, then attach them to the cake pop. Give them just a minute to dry before dipping the whole cake pop in the black candy melts. You can also substitute dark melting chocolate instead of candy melts. For mummies, stick two candy eyes on the cake pop, then use a piping bag or ziplock bag with the corner cut to drizzle white chocolate back and forth, creating a mummy design. When making pumpkin cake pops, melt the orange chocolate in a tall bowl, then dip the cake ball into the chocolate, or spoon chocolate over, letting the excess drip off into the bowl. Then in a small bowl melt ¼ cup green candy melts. Use a piping bag or Ziplock bag to pipe on a green design for the stem. Melt some black candy melts and pipe on a jack-o-lantern face.
Storing Leftovers
These yummy cake pops are easy to make ahead of time, and keep in the refrigerator until party time. You can keep the cake pops in the fridge for up to two days. And because this makes a huge batch, you can always freeze leftovers that you don’t want to use right away. They’ll stay nice and fresh in an airtight container for up to two months. READ NEXT: Christmas Cake Pops
More Creative Halloween Eats and Treats
Looking for more unique and delicious recipes for the spooky holiday? These dinners, cookies, candies and snacks are perfect for any fun and festive party. Spaghetti and EyeballsPumpkin JuiceDinner in a PumpkinSoup in a PumpkinPumpkin Bundt CakePumpkin MousseHalloween Charcuterie BoardHalloween Dinner Ideas
How to Make Halloween Cake Pops
We want to hear from you! Please leave a review. Rate and Review